Photos
360° photos
Floorplans
Share
Save
Photos
29
Advertisement
Advertisement
360° photos
10
Terras
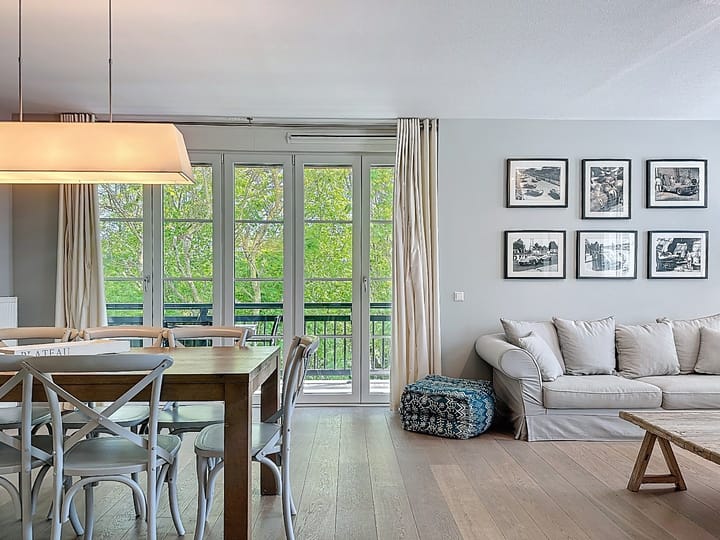
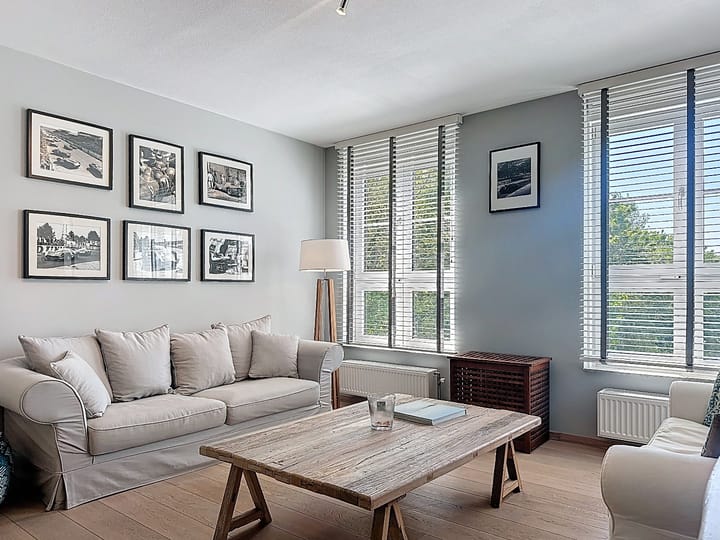
Woonkamer
Woonkamer
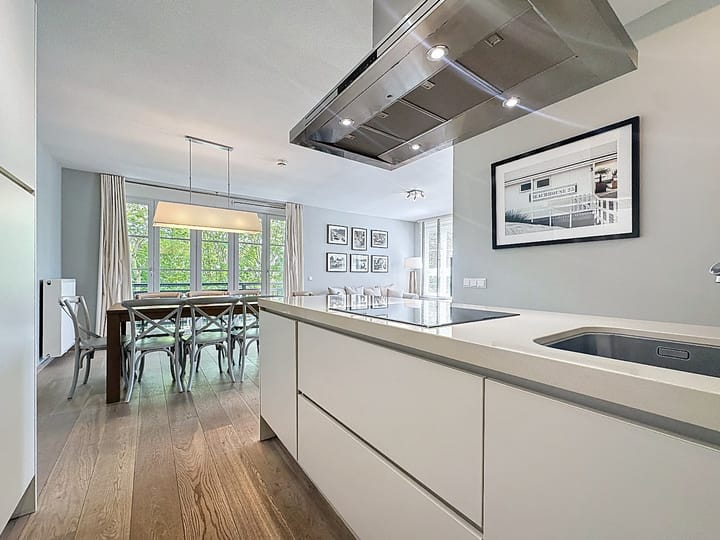
Keuken
Entree
Hal
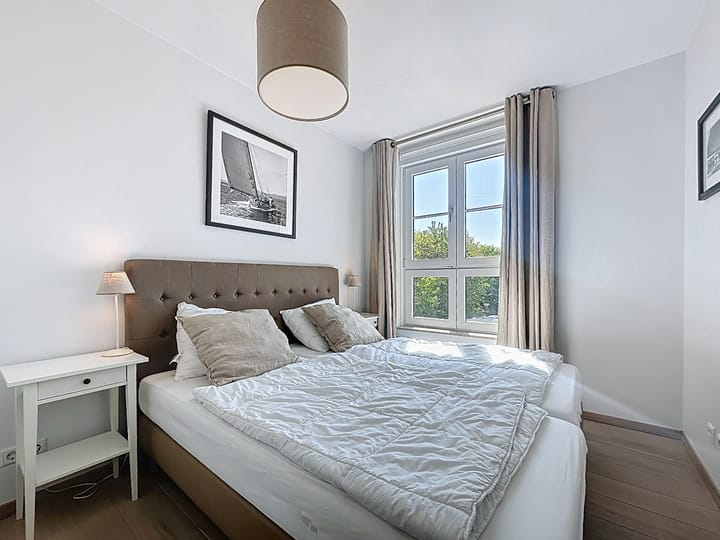
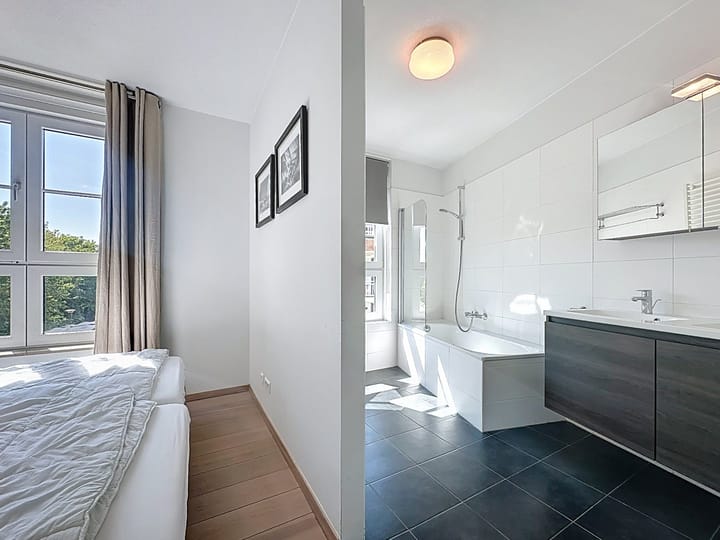
Slaapkamer
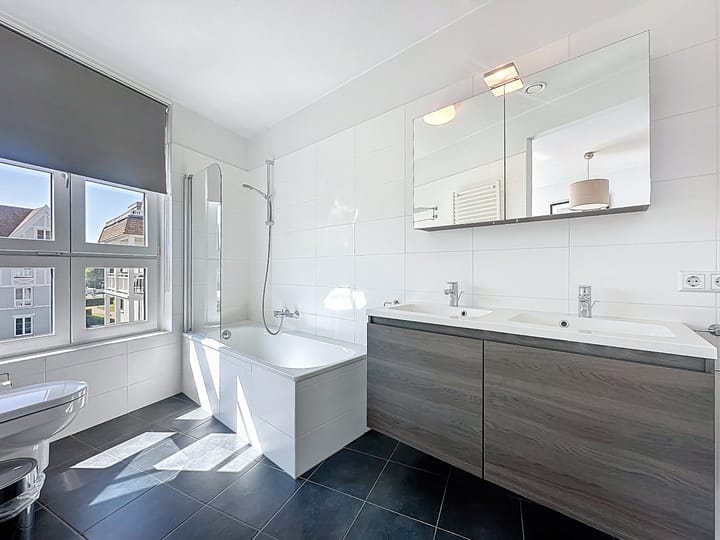
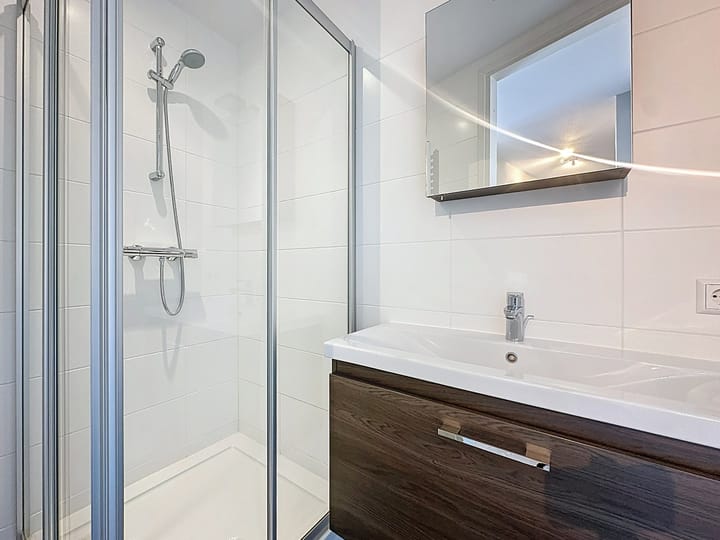
Badkamer
Slaapkamer
Badkamer
Floorplans
Verdieping
Photos
360° photos
Floorplans