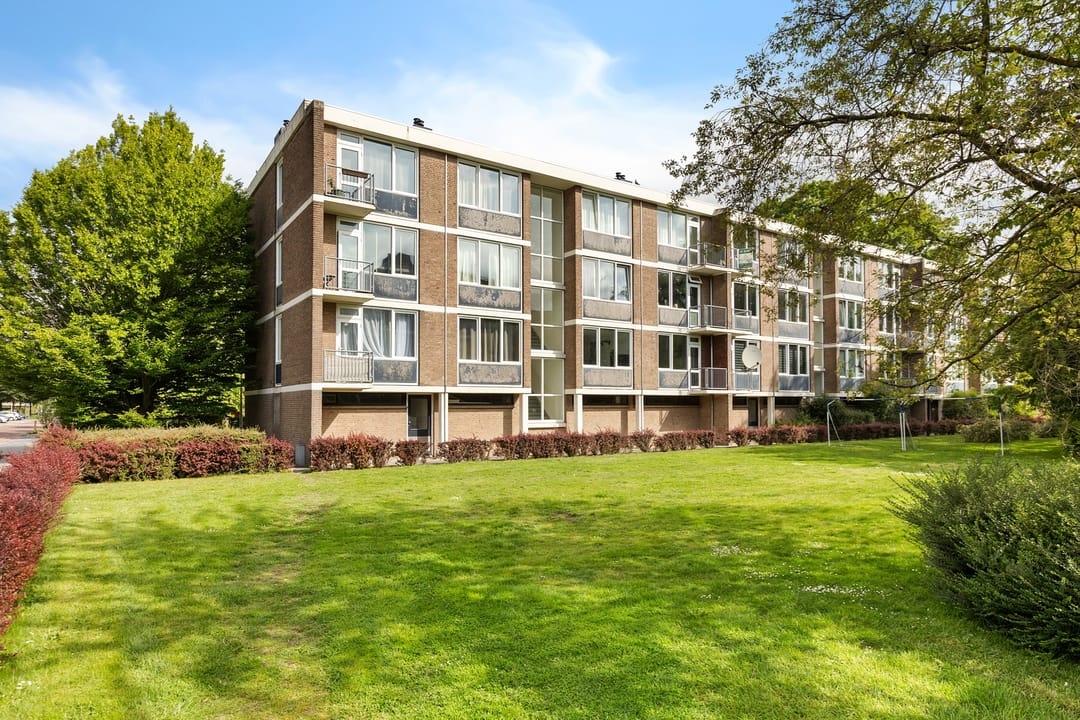
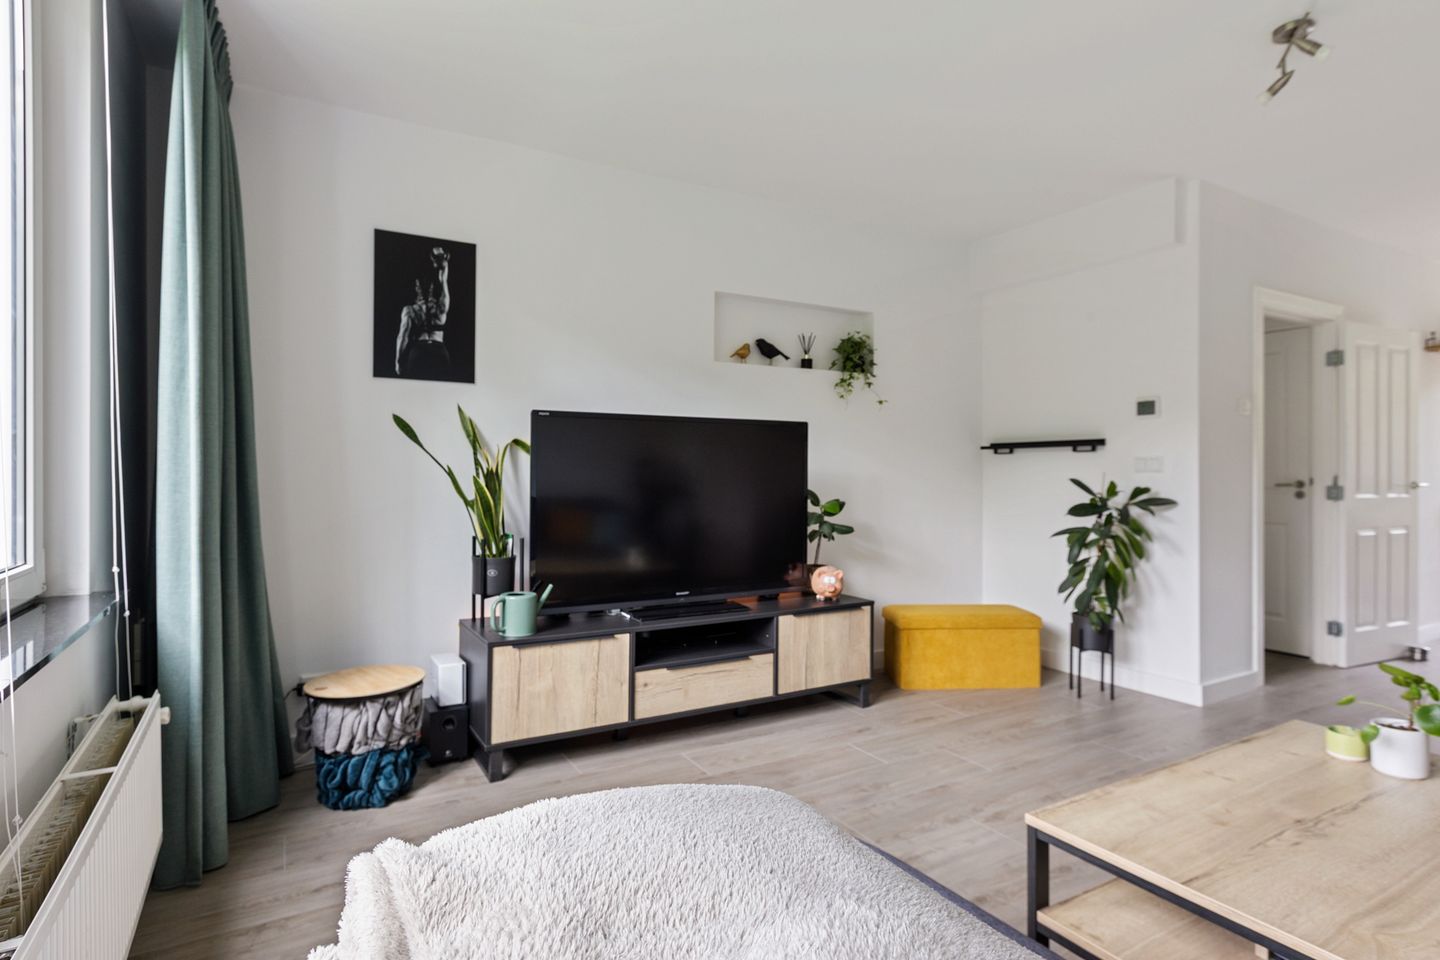
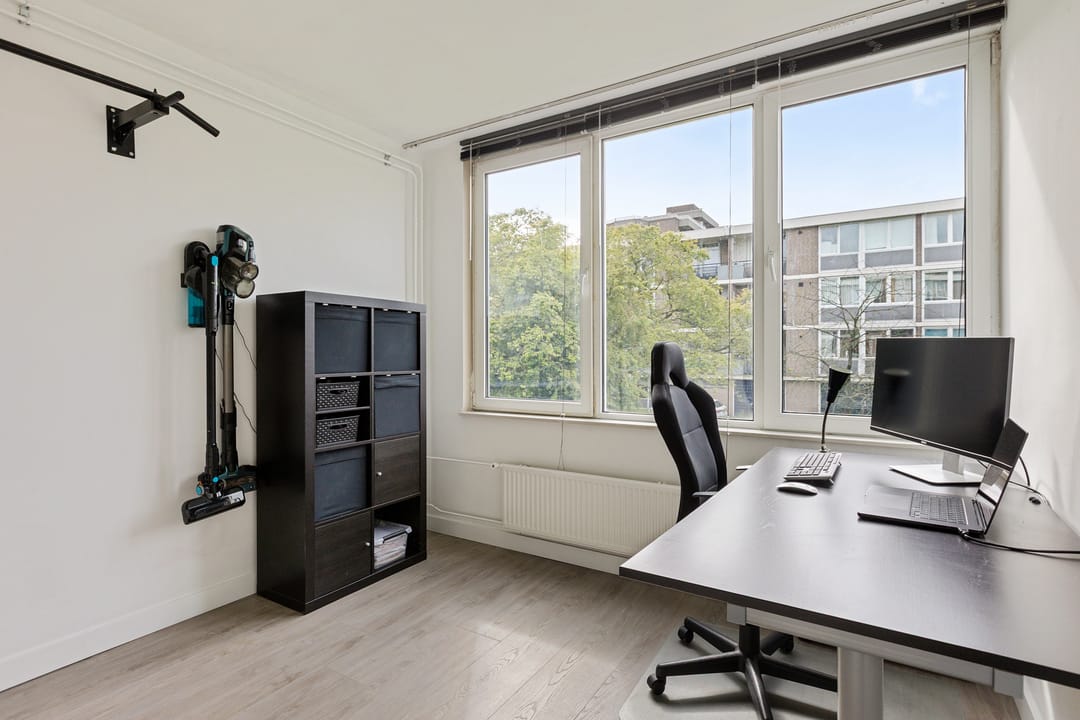
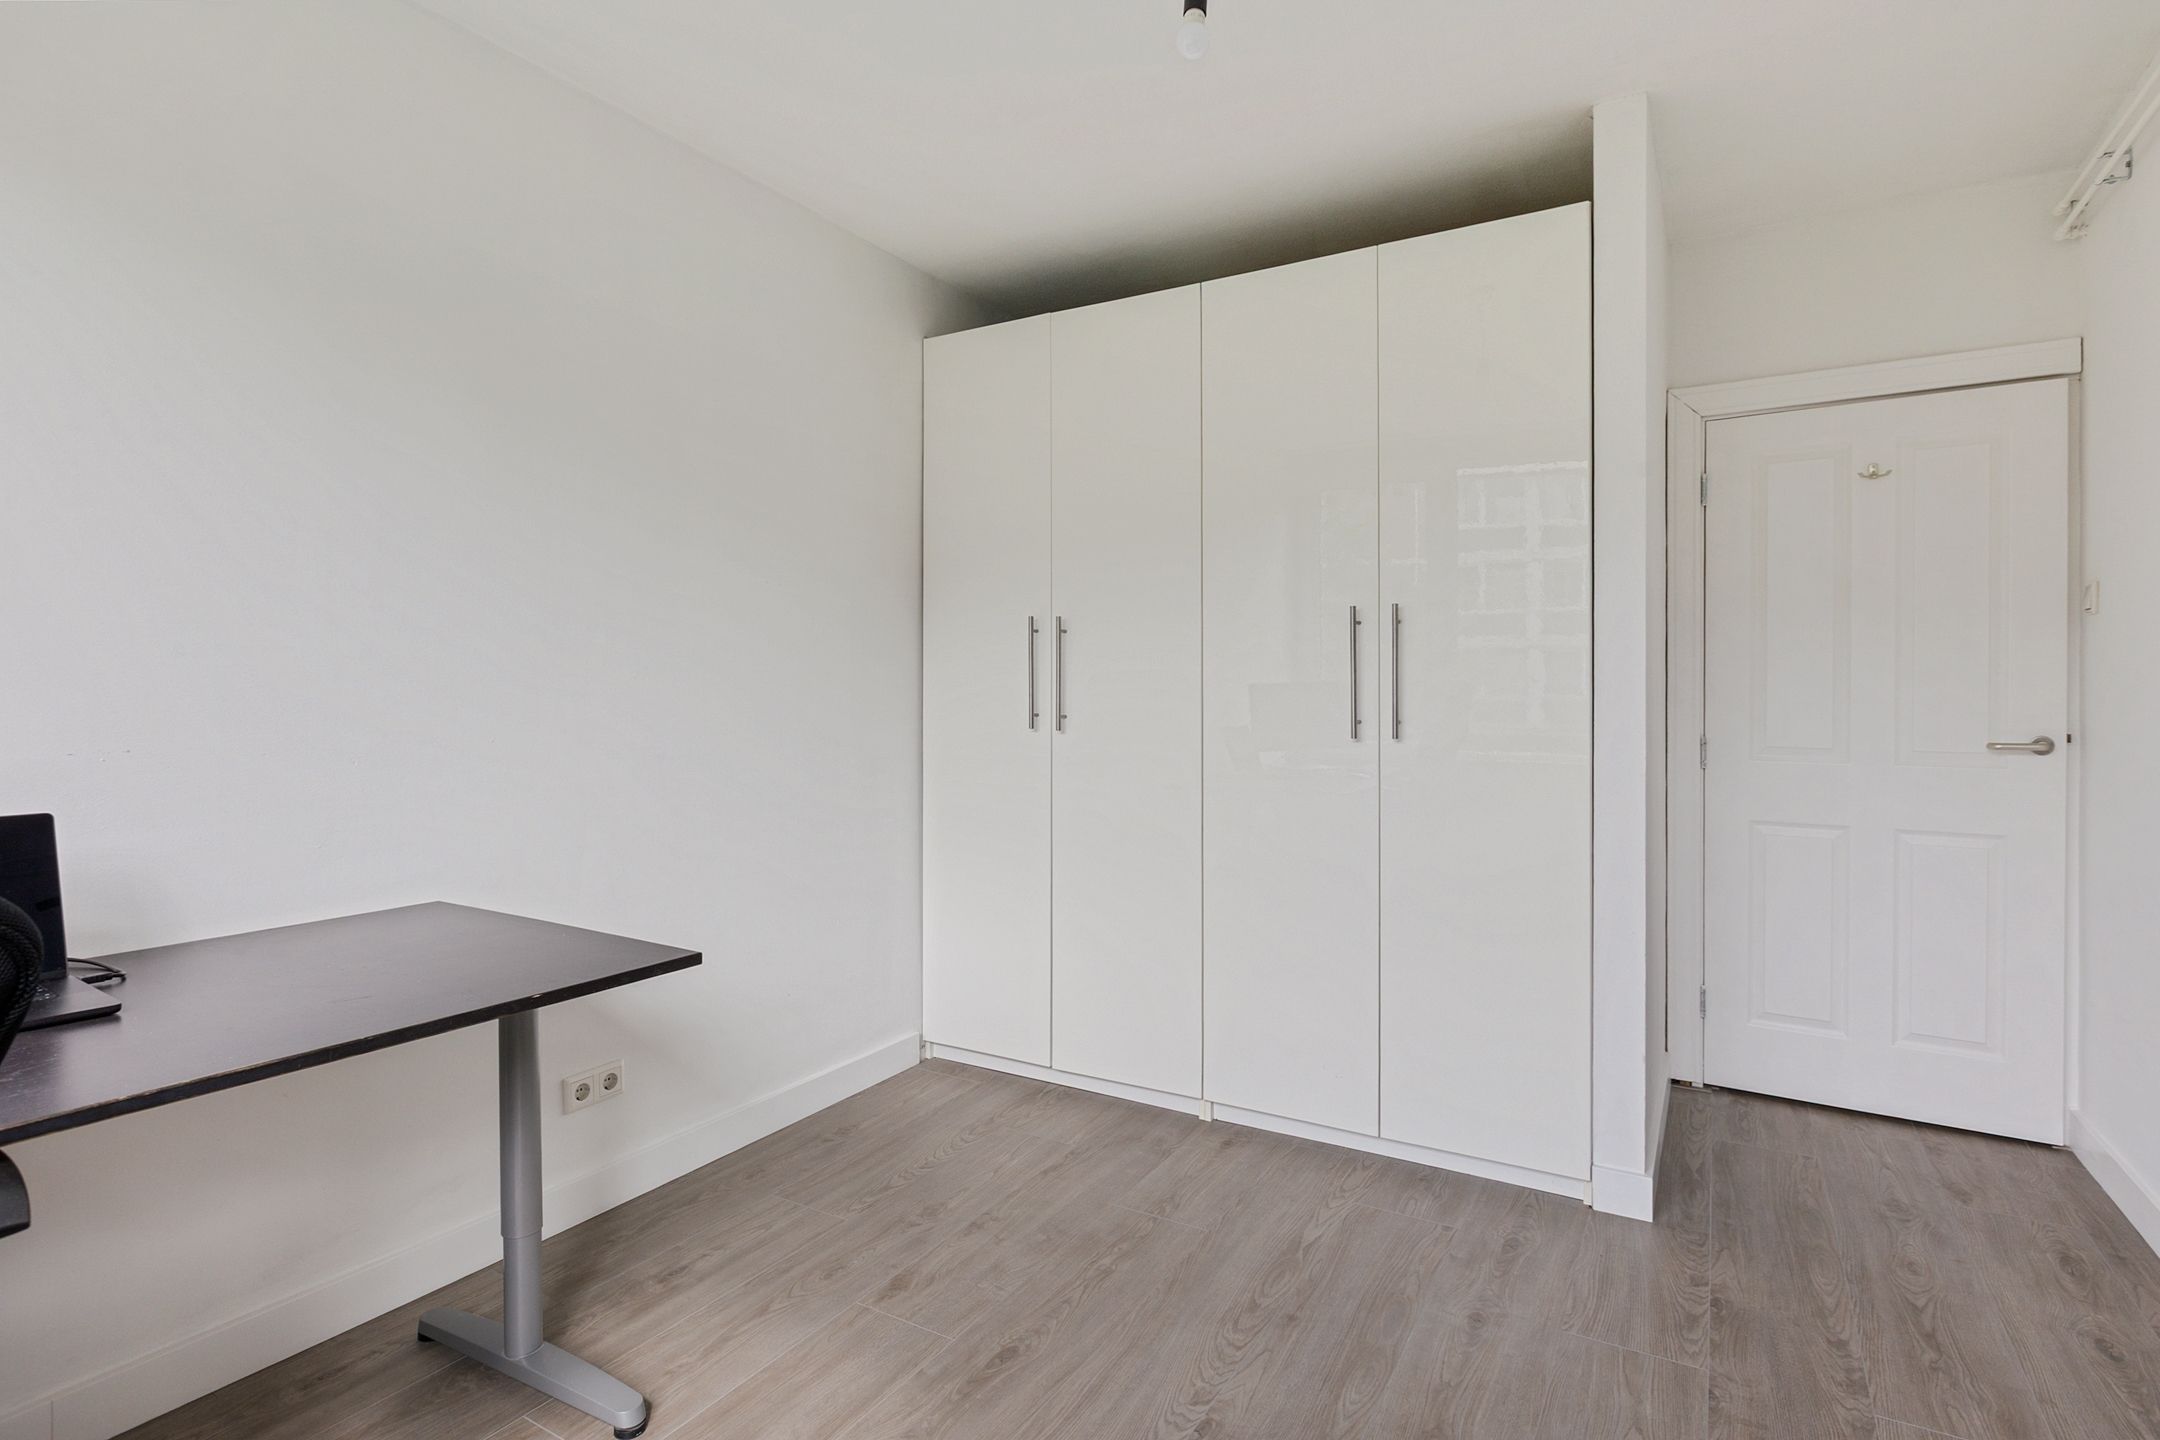
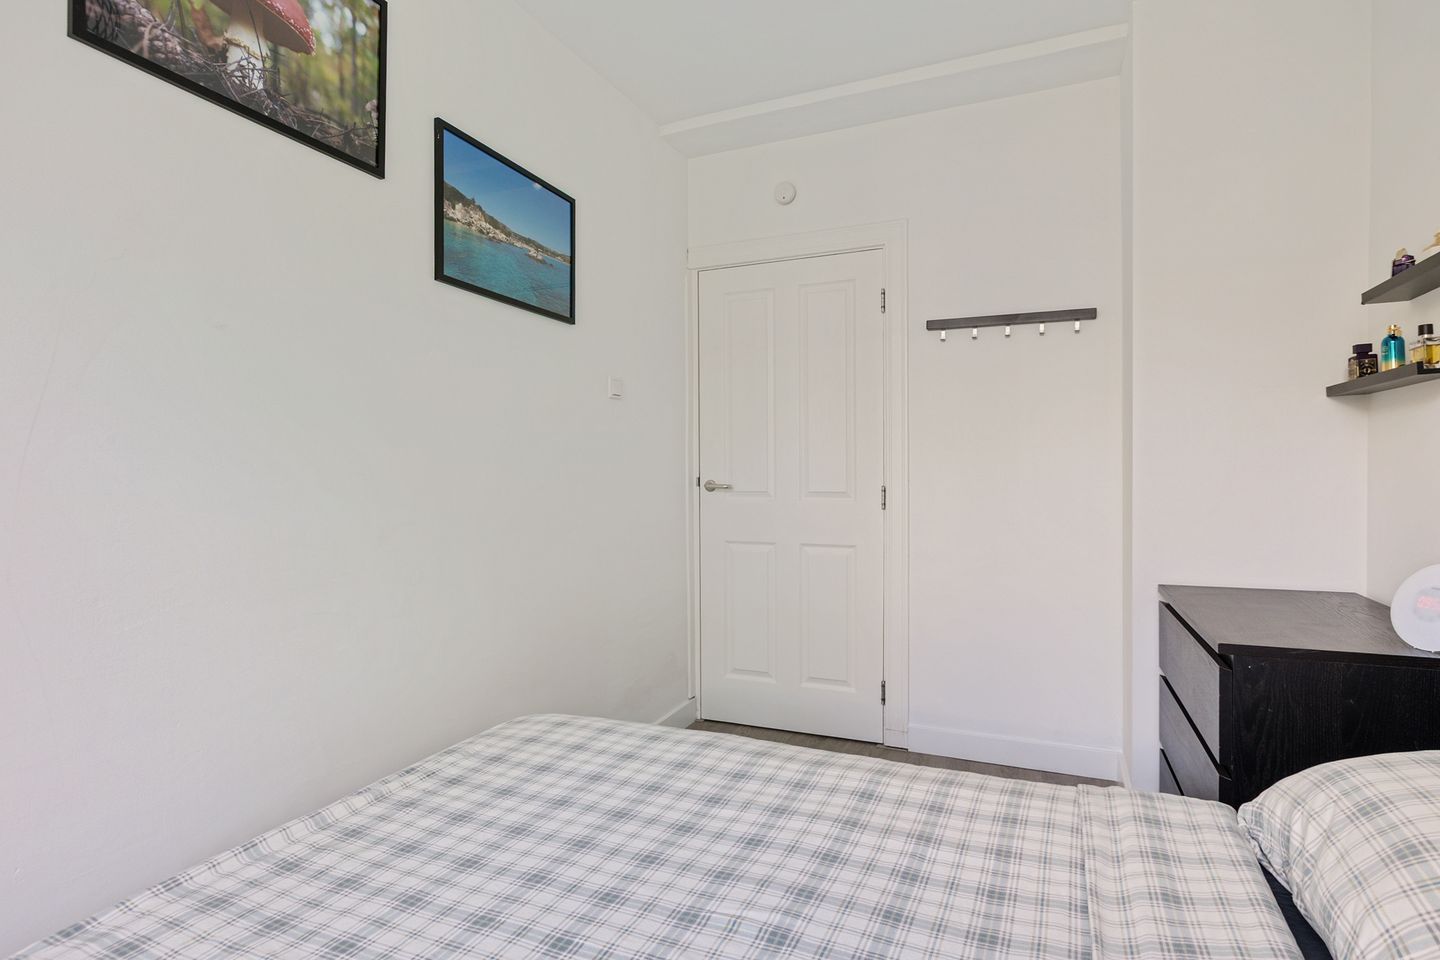
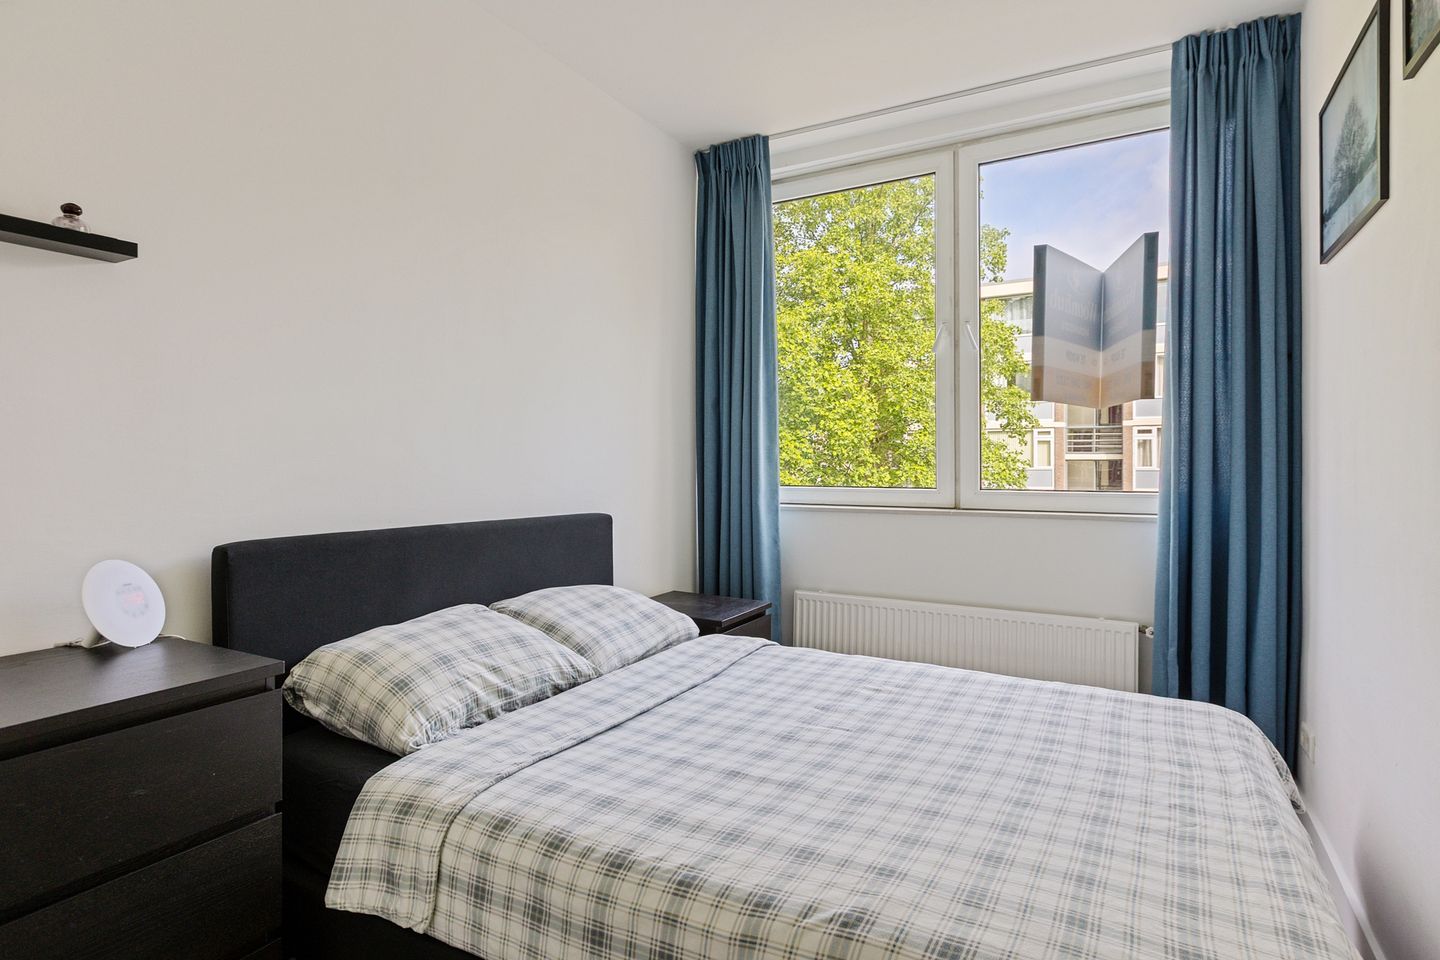
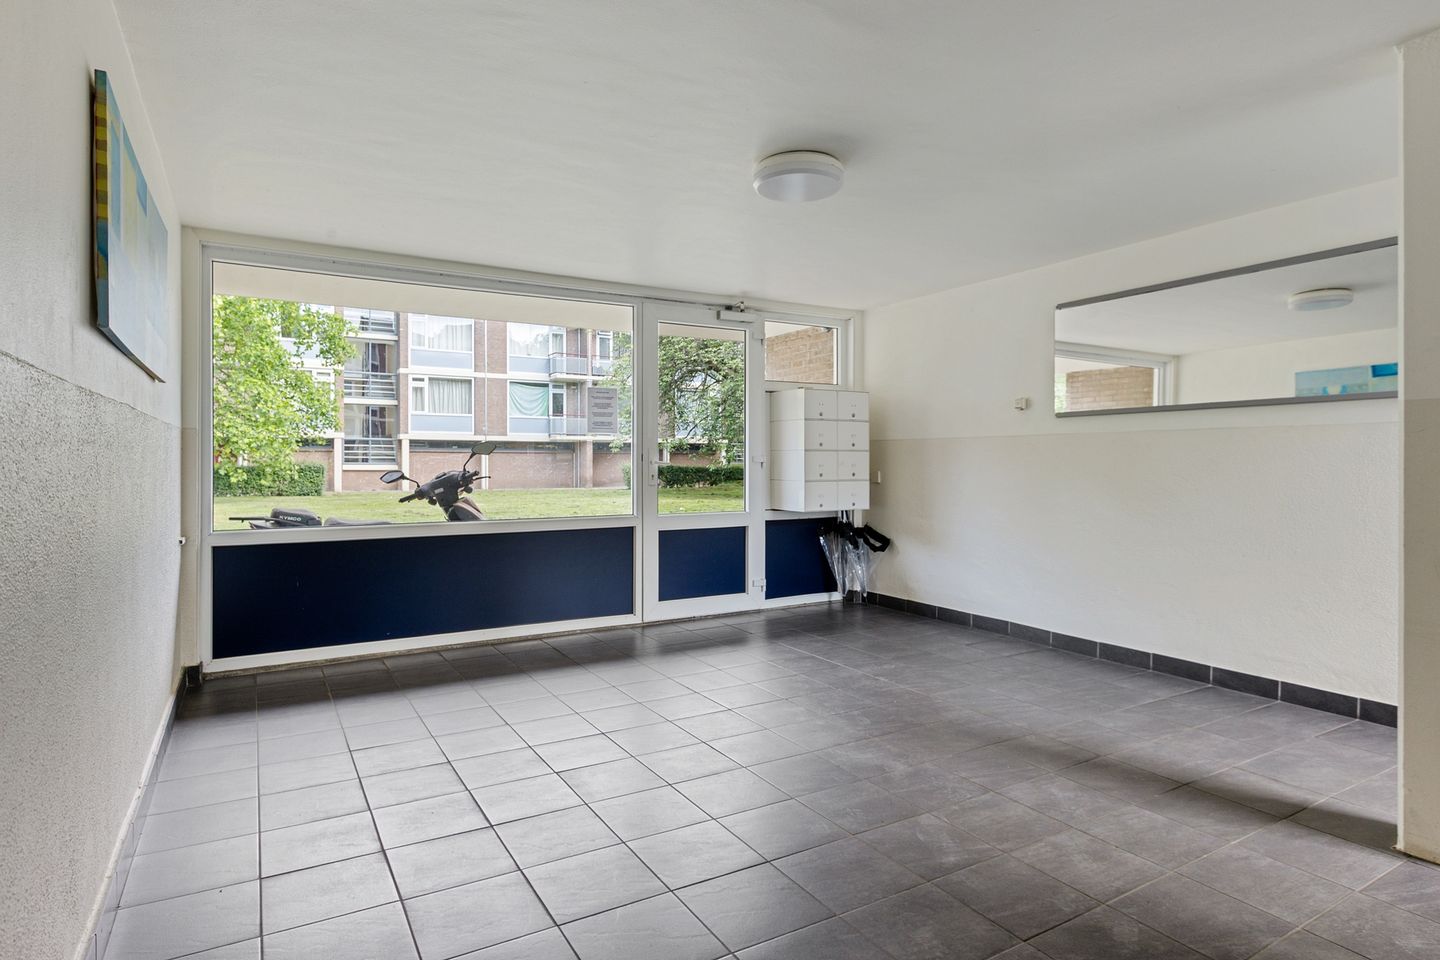
• Photo 1 of Colenbranderstraat 3
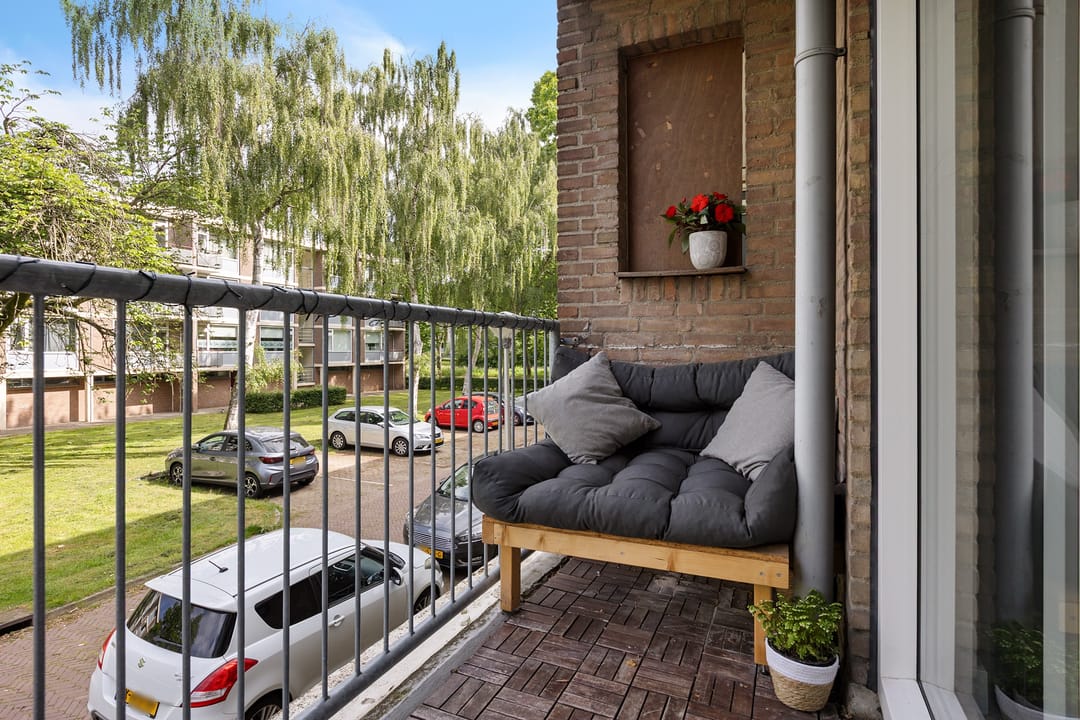
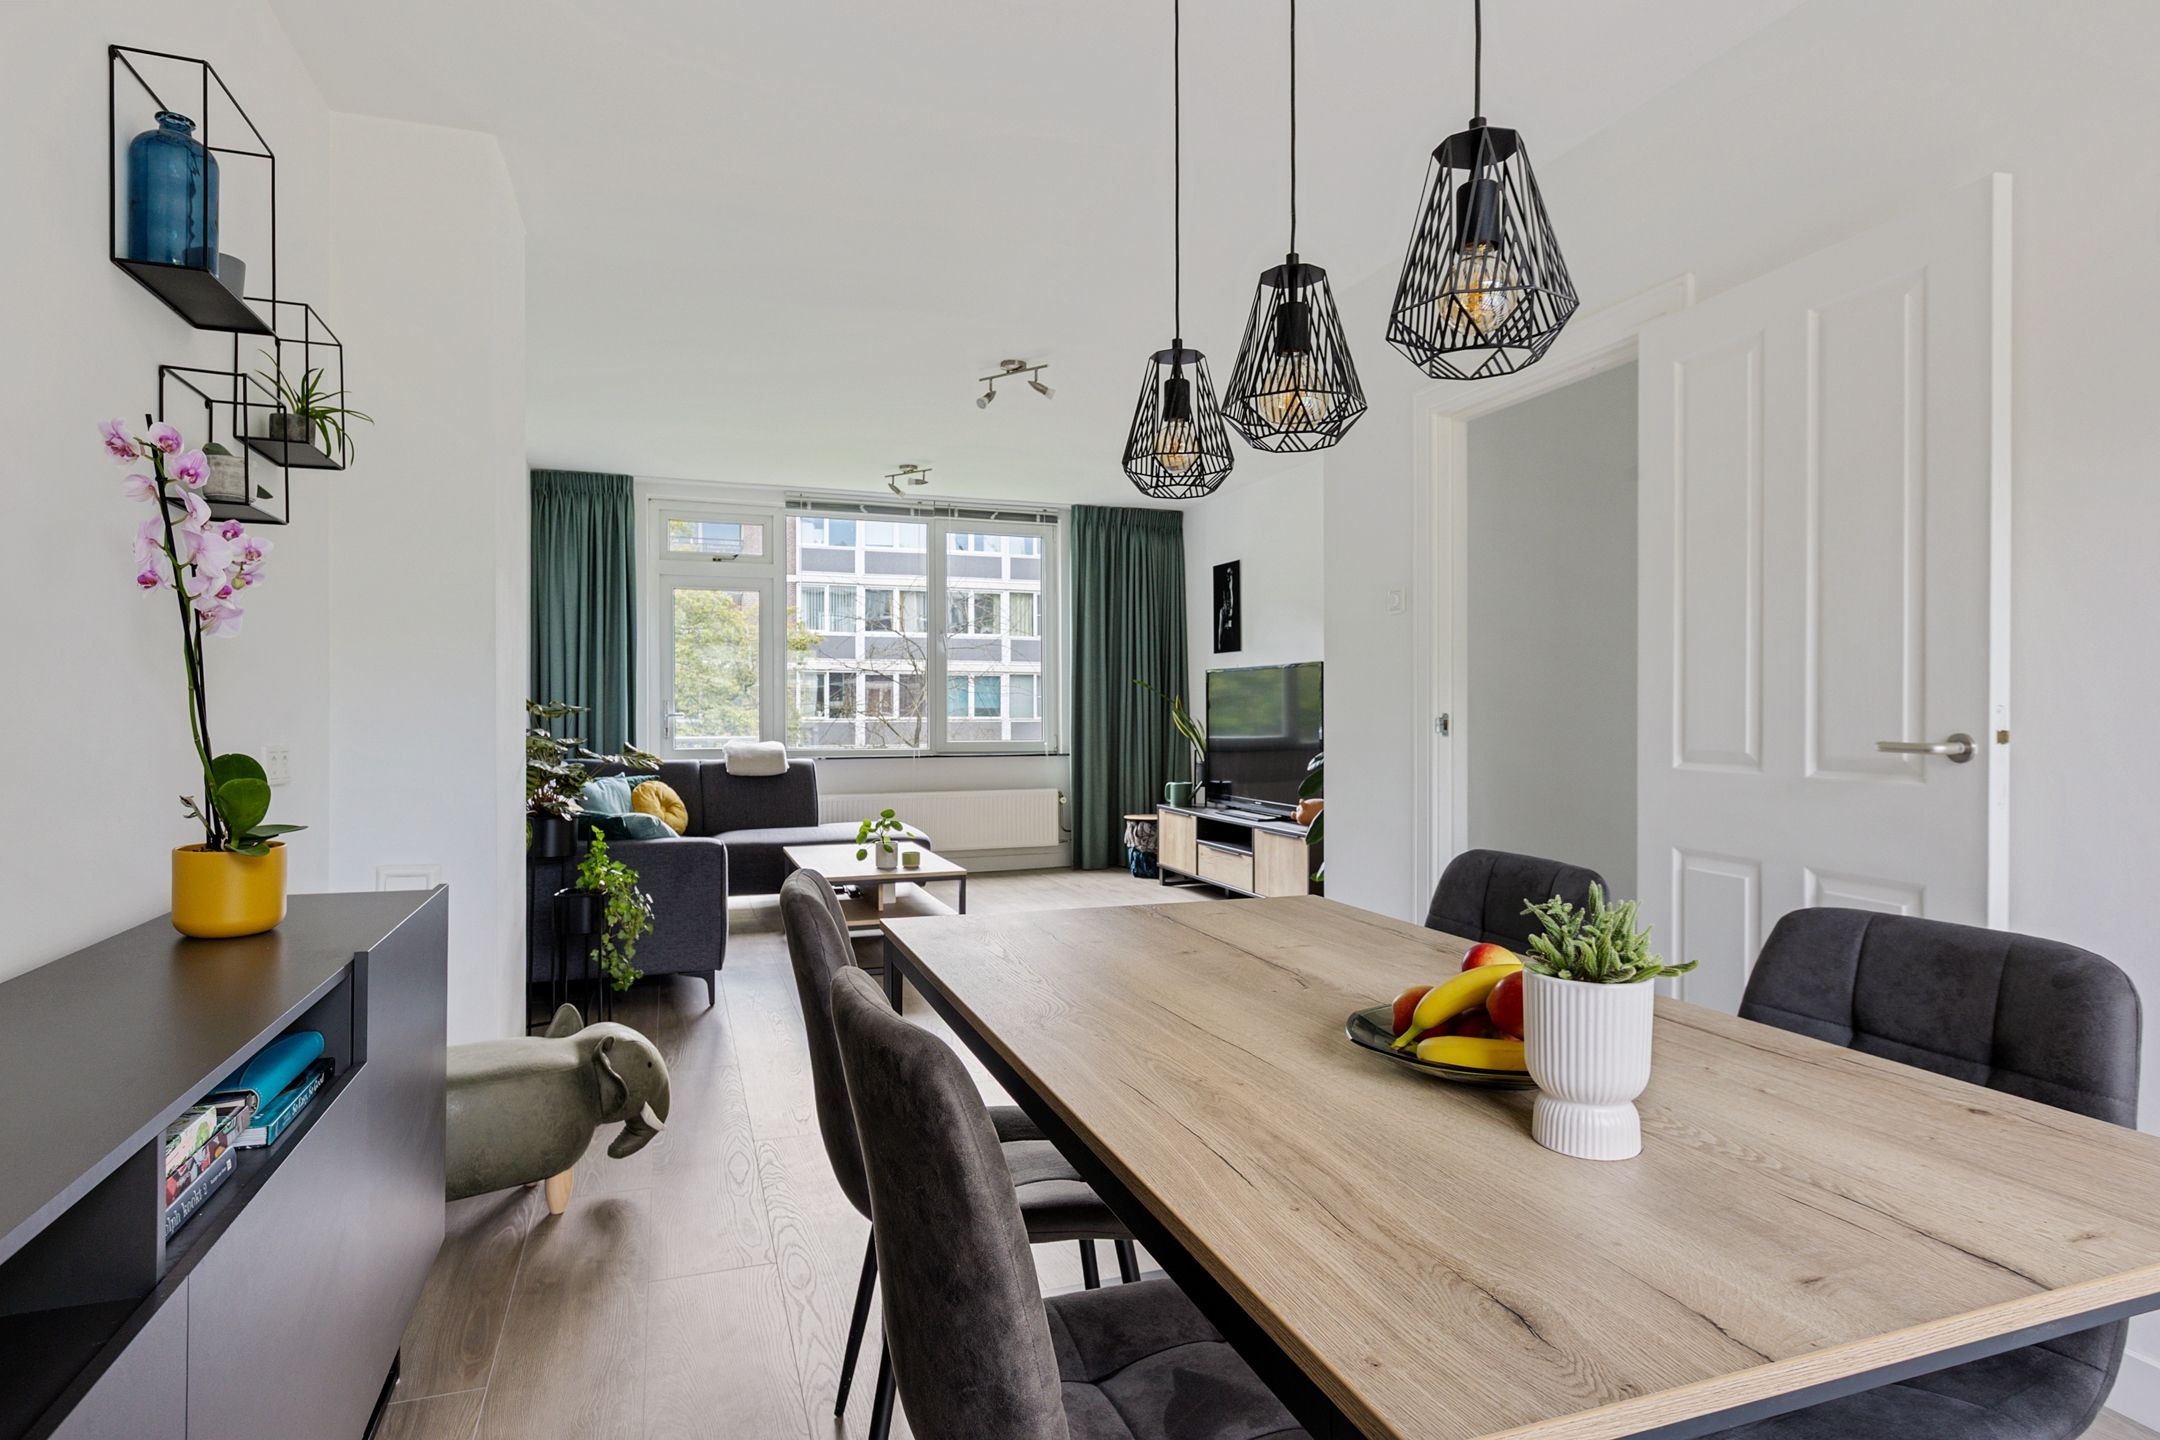
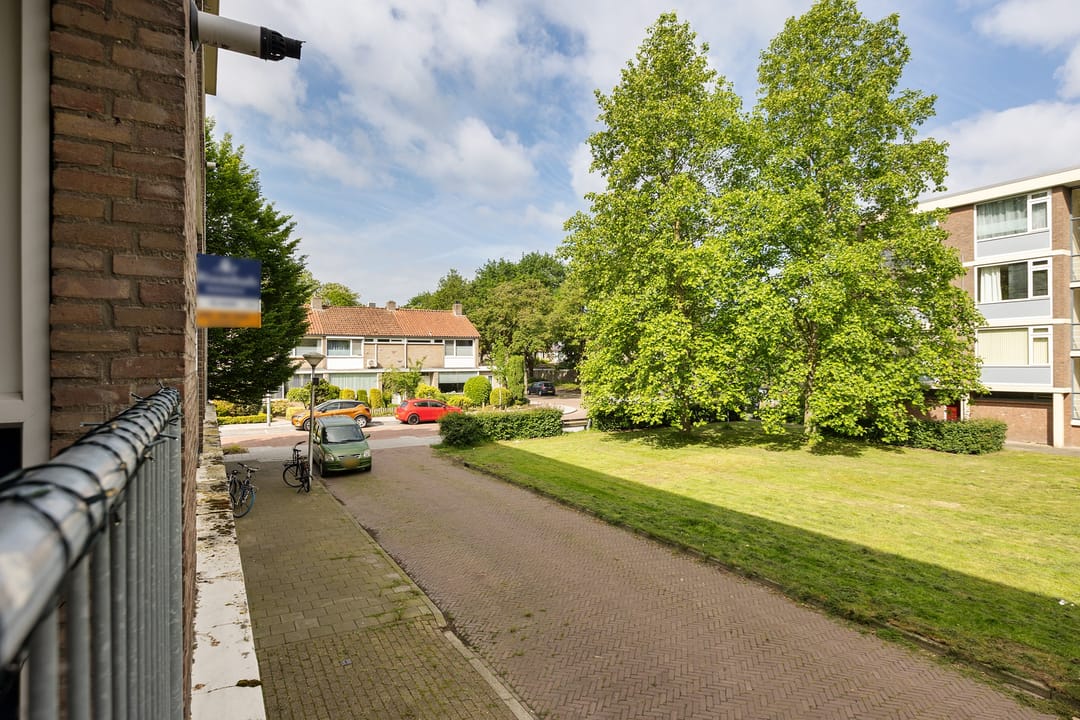
  • Photo 2 of Colenbranderstraat 3
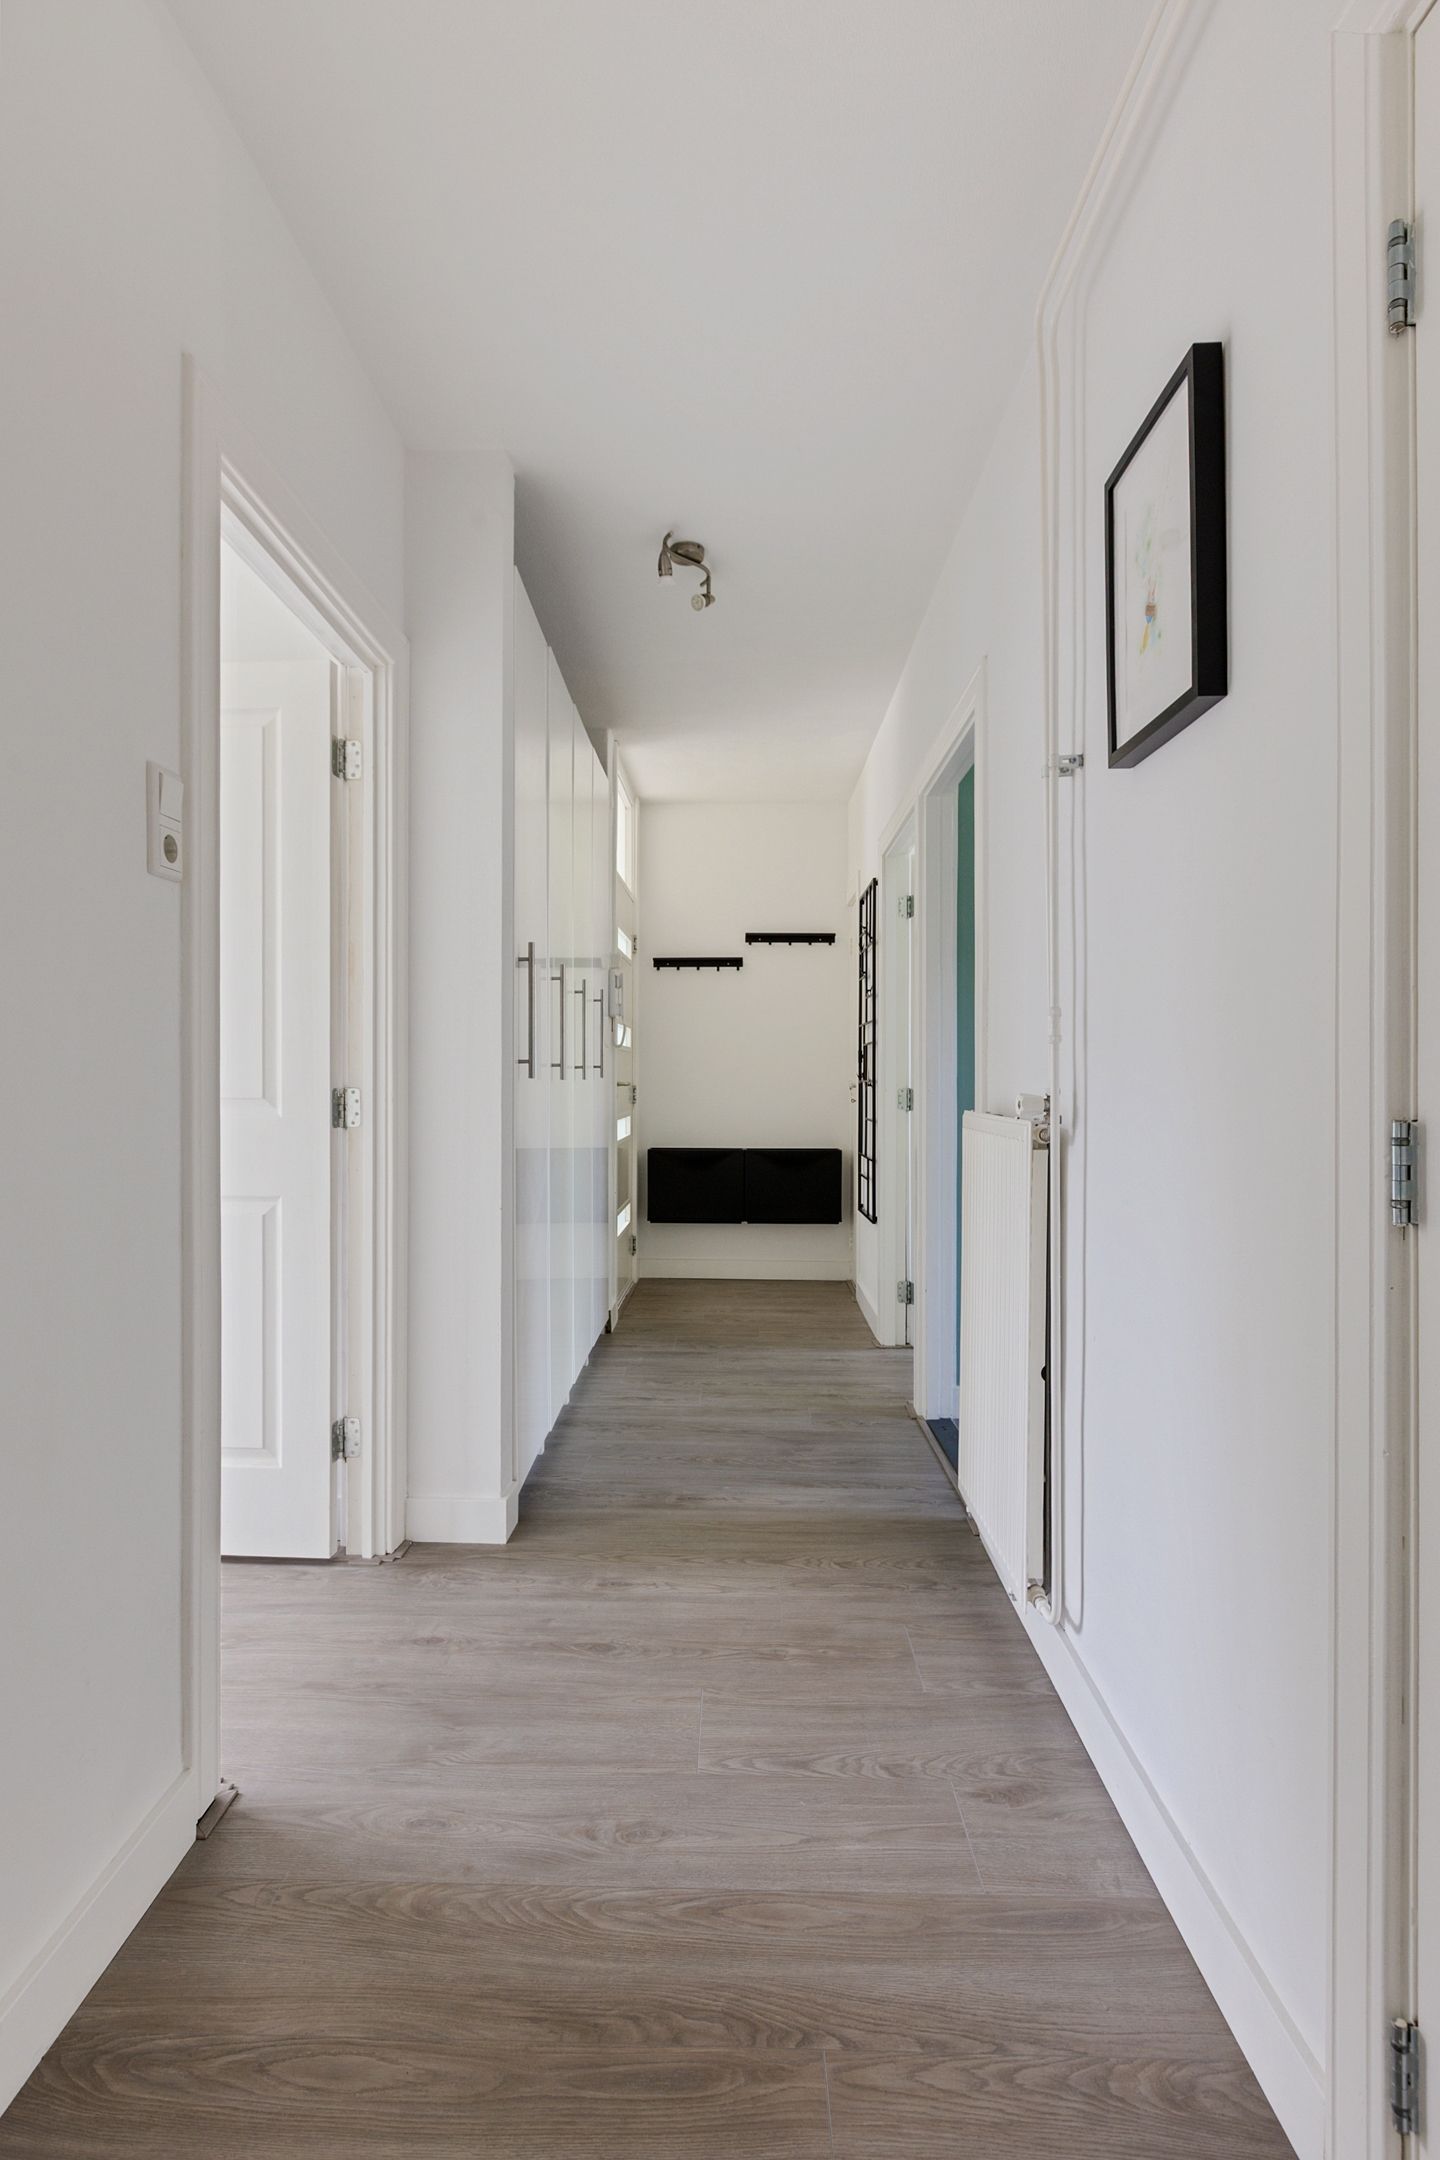
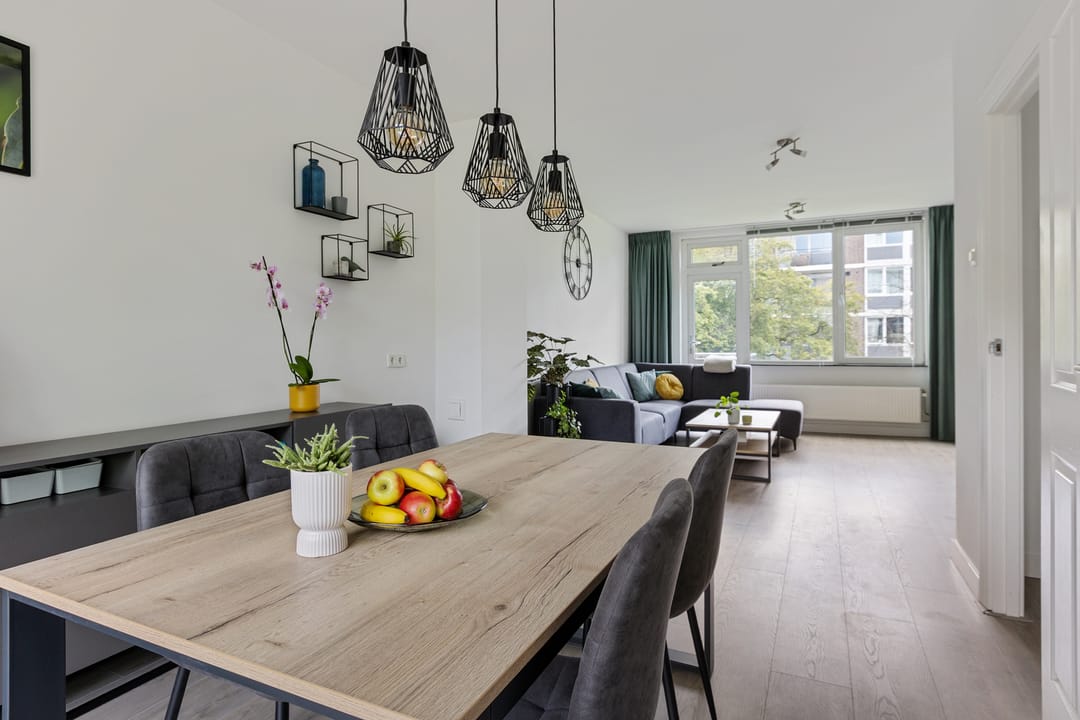
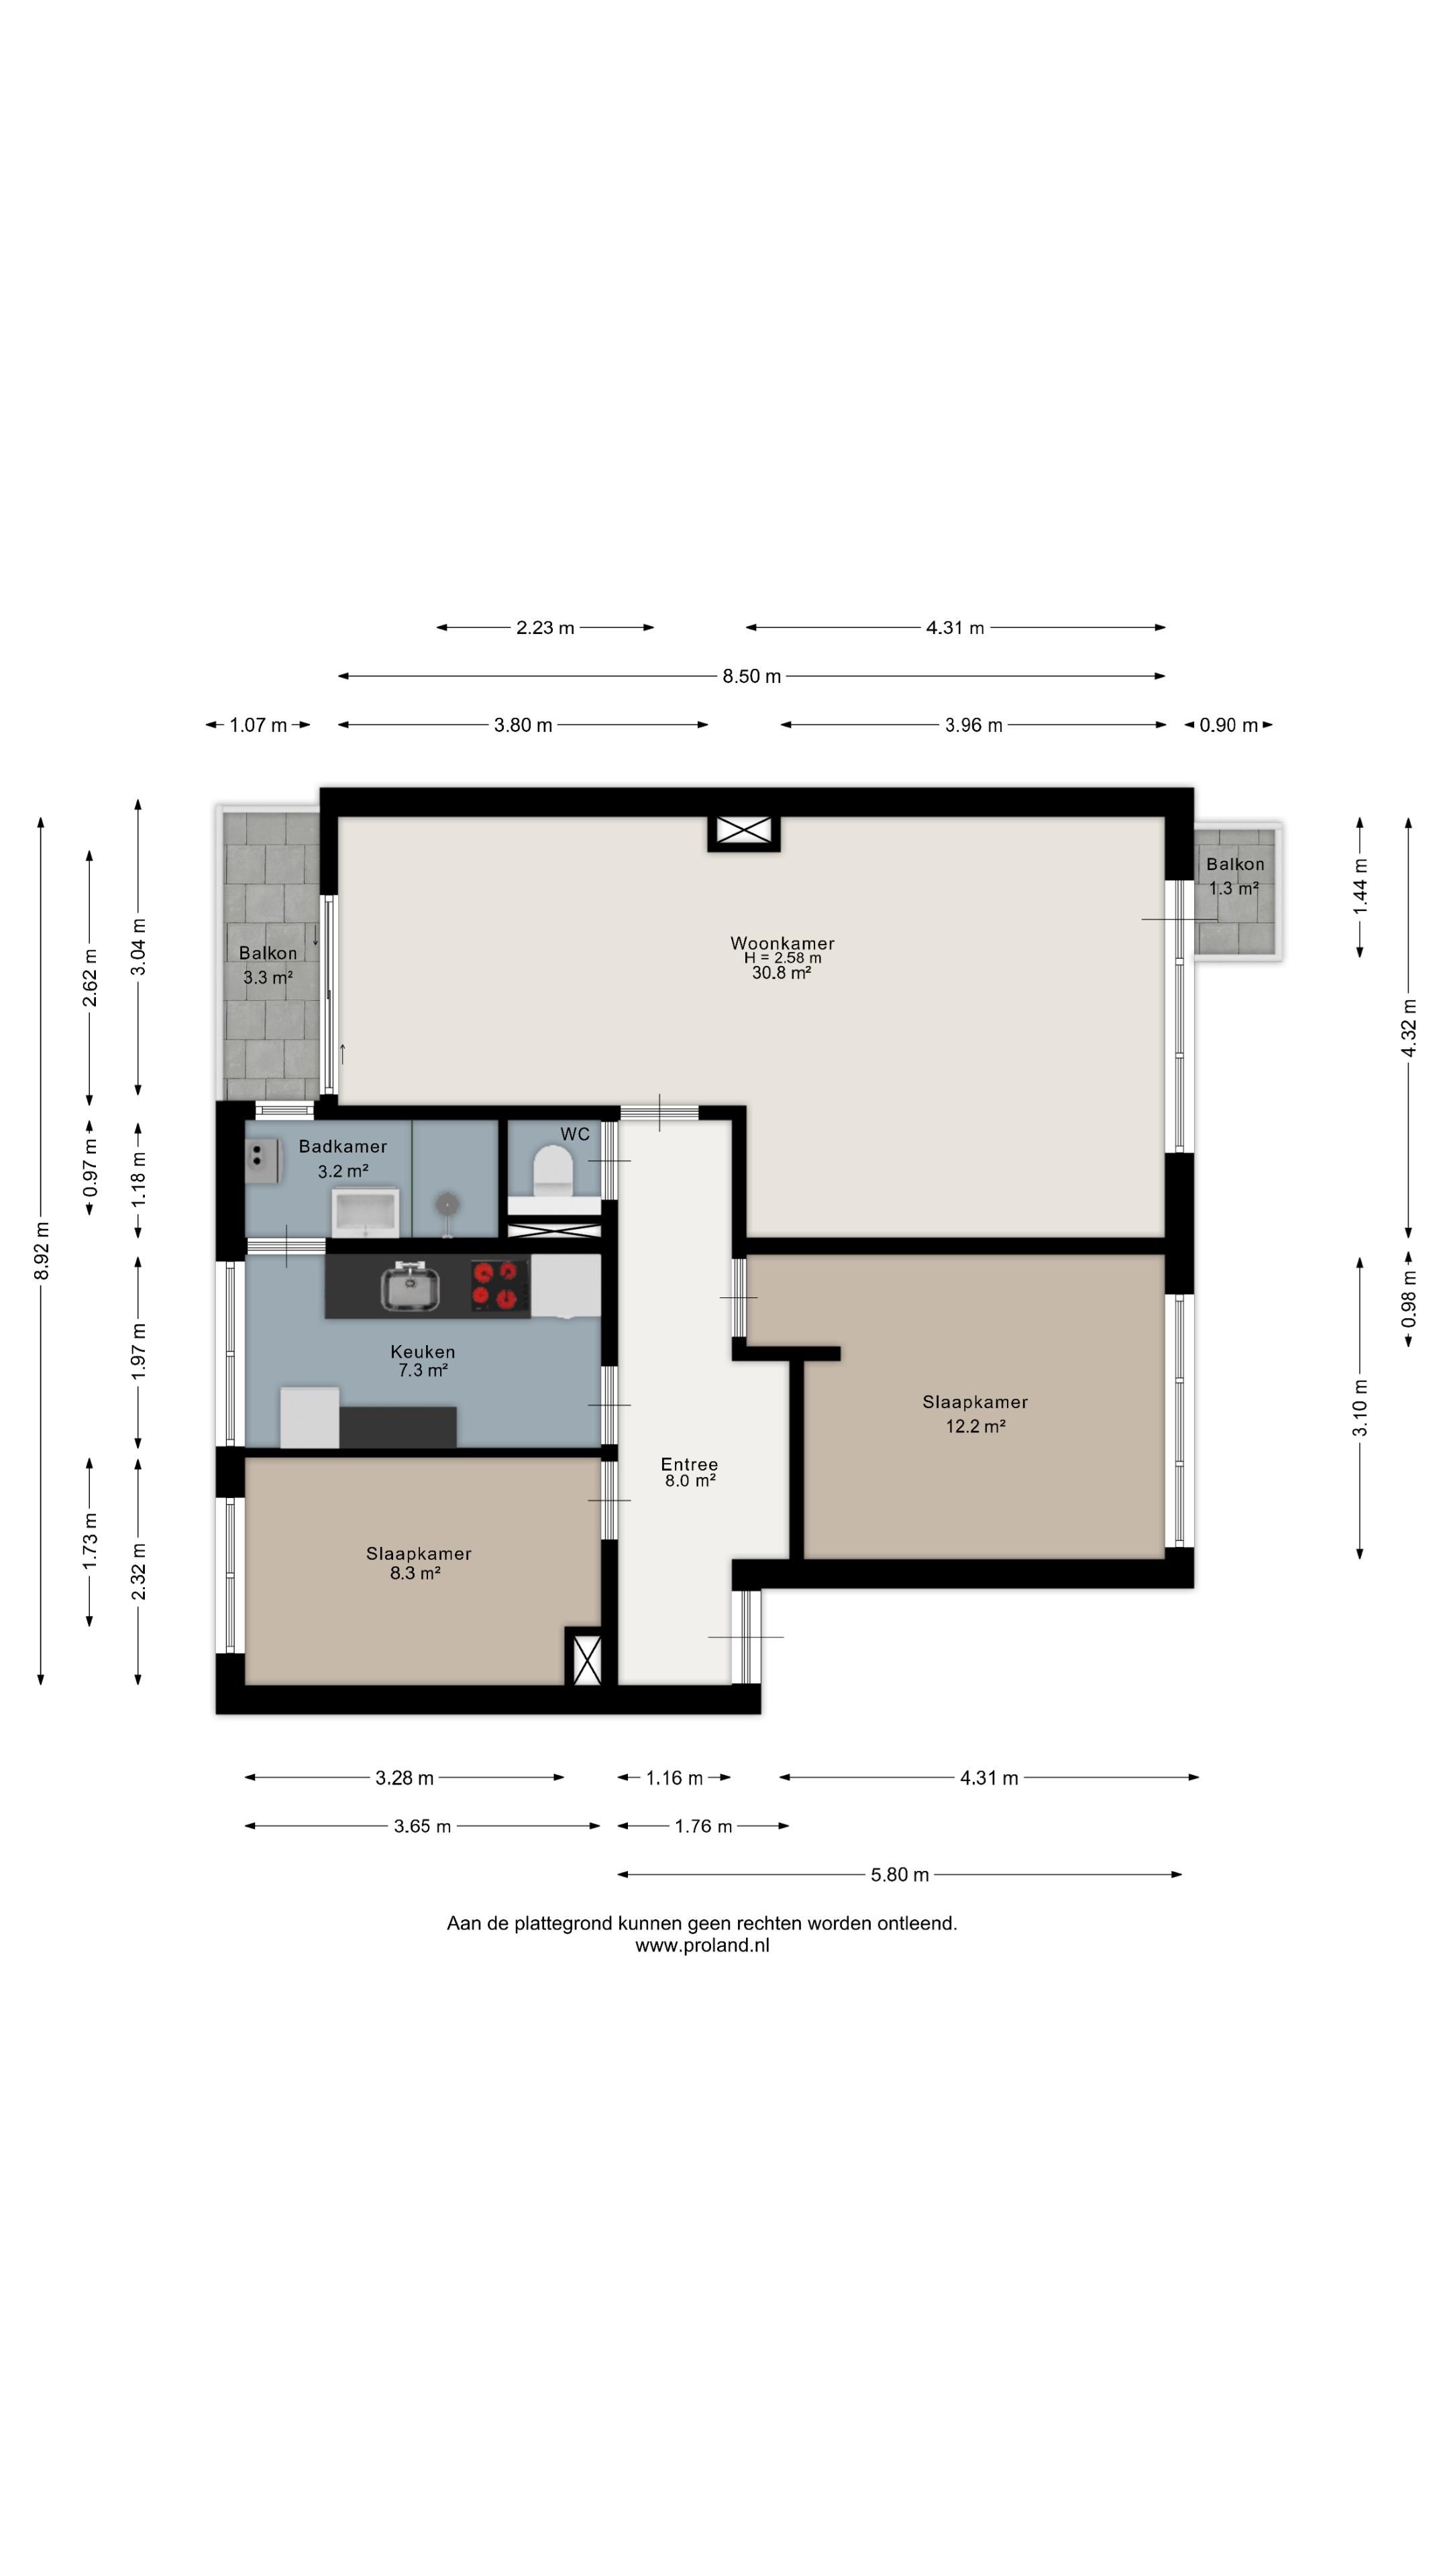
  • Photo 3 of Colenbranderstraat 3
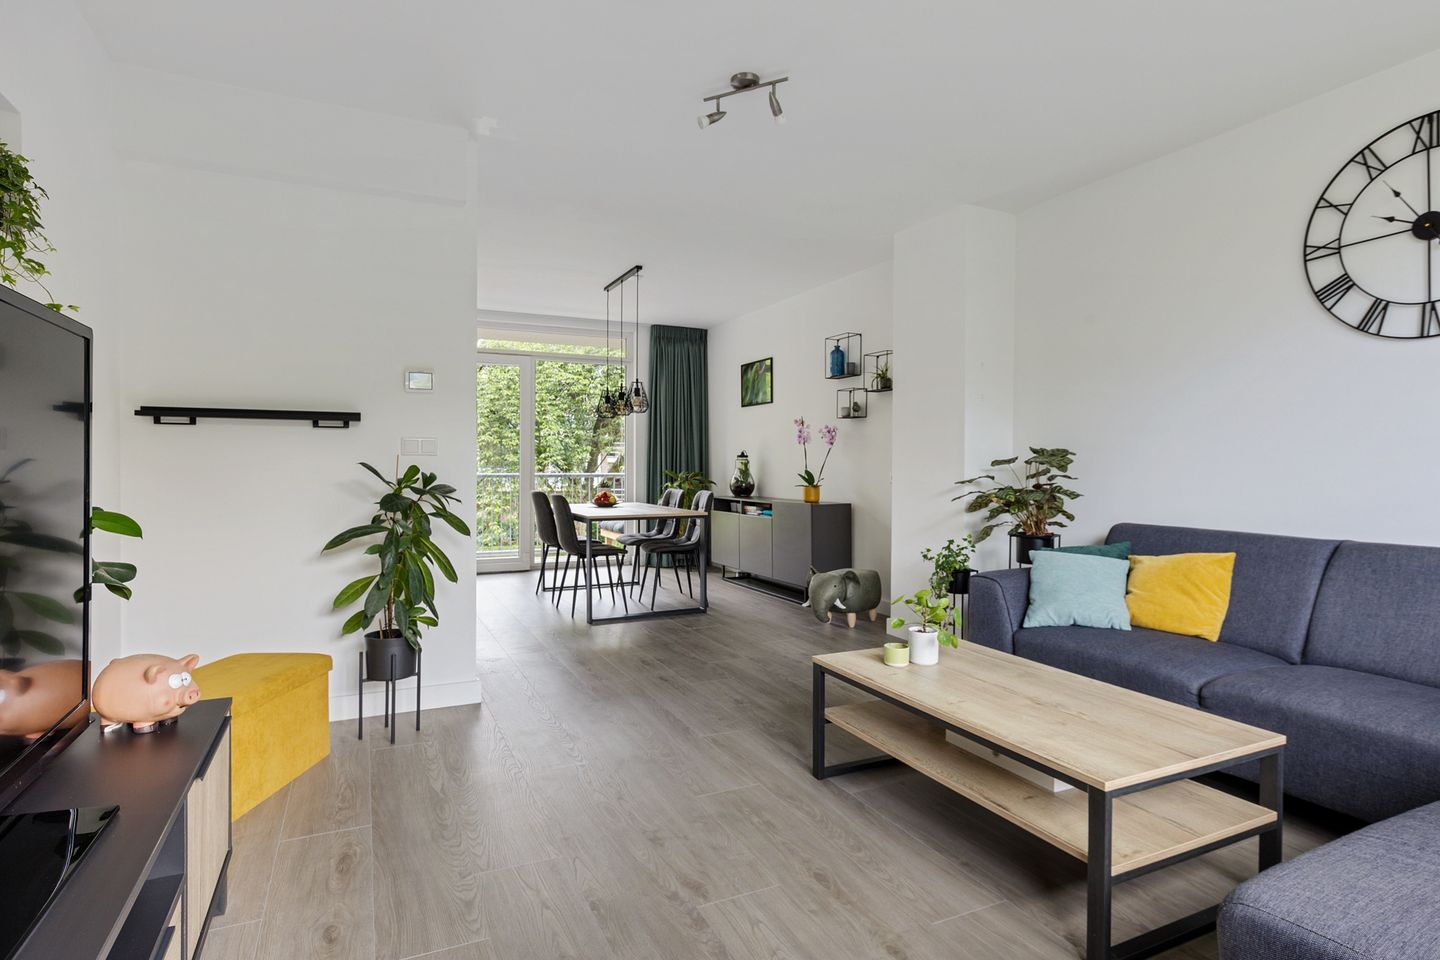
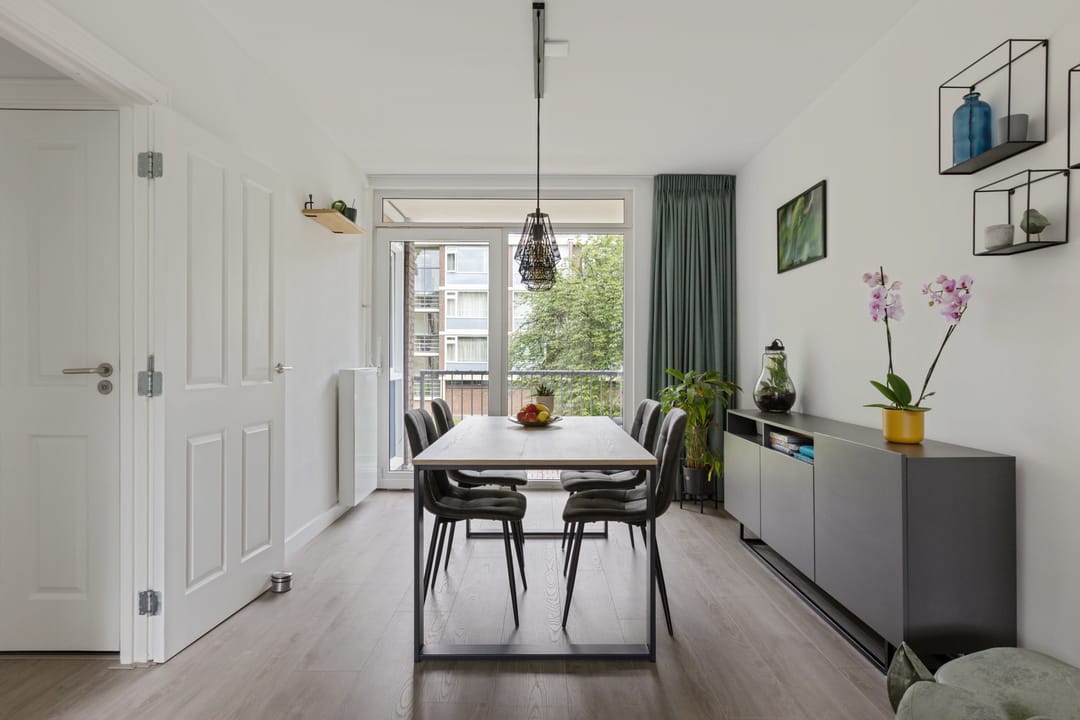
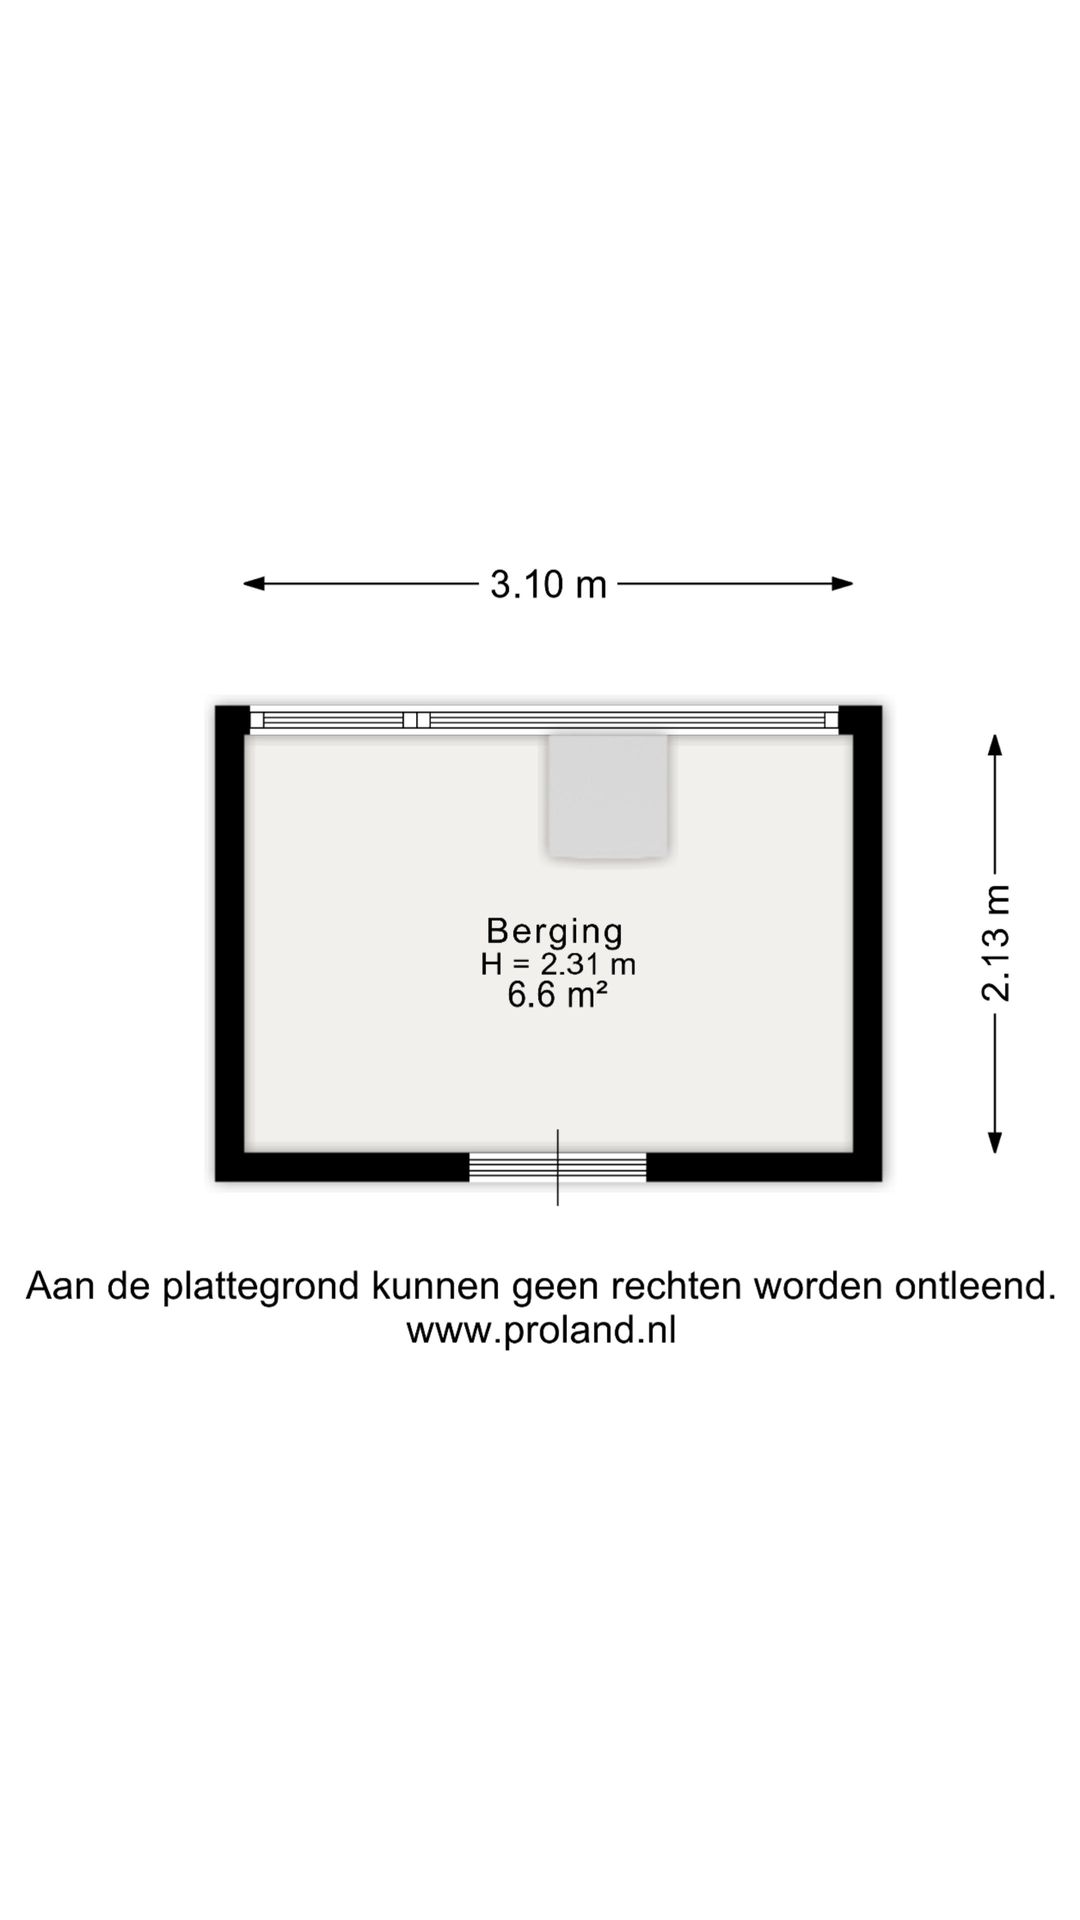
  • Photo 4 of Colenbranderstraat 3
  • Photo 5 of Colenbranderstraat 3
  • Photo 6 of Colenbranderstraat 3
  • Photo 7 of Colenbranderstraat 3
  • Photo 8 of Colenbranderstraat 3
  • Photo 9 of Colenbranderstraat 3
  • Photo 10 of Colenbranderstraat 3
  • Photo 11 of Colenbranderstraat 3
  • Photo 12 of Colenbranderstraat 3
  • Photo 13 of Colenbranderstraat 3
  • Photo 14 of Colenbranderstraat 3
  • Photo 15 of Colenbranderstraat 3
  • Photo 16 of Colenbranderstraat 3
  • Photo 17 of Colenbranderstraat 3
  • Photo 18 of Colenbranderstraat 3
  • Photo 19 of Colenbranderstraat 3
  • Photo 20 of Colenbranderstraat 3
  • Photo 21 of Colenbranderstraat 3
  • Photo 22 of Colenbranderstraat 3
  • Photo 23 of Colenbranderstraat 3
  • Photo 24 of Colenbranderstraat 3
  • Photo 25 of Colenbranderstraat 3
  • Photo 26 of Colenbranderstraat 3
  • Photo 27 of Colenbranderstraat 3
  • Photo 28 of Colenbranderstraat 3